How to sharpen a photograph?

The sharpness of the image is determined by the two main factors: Resolution and Recutance. In it, recutance is the factor that we can edit after shooting with post-production software.
Today we will share how to sharpen a photo scientifically and effectively.
http://rephotosolution.com/blog/add-texture/
I use this photo. It is a portrait. Now, how do we sharpen it? First, we must consider what to do for the picture. Overall, this picture has some shortcomings: the hair and the skin are not properly edited but that factor will be ignored. Which we will evaluate is the sharpness of the picture.
In my opinion, the overall sharpness of the picture is okay but the sharpness of each detail in the picture is not good enough. For me, a portrait picture must also have layers. The best part is the eyes. Then lips, eyebrows, nose, skin, and hair are the next parts. But it is hard to determine if we look entirely. There is a way to do that and it is also a step in the sharpening process that I present below.
Step 1: Open the picture in Photoshop, duplicate the image with Ctrl + J

Step 2: Select Filter / Other / Highpass

Here, depending on the image with a radius of 1 to 2 with this tool, we can consider the sharper part. In this picture, we can see that the eyebrow has a good sharpness ratio compared to the other parts. But we can increase the sharpness a bit. In case you shot wrong sharpness, the tool will tell where the sharp spot is in the picture.
For example, if the sharp spot is nose not eye, we will sharpen the eye, not the nose.
Here I choose radius 1.5, click OK and change the blending mode to soft light

Step 3: Create a black mask on this layer by holding Alt and clicking on the mask

Step 4: On the mask layer, use a white brush with about 50% flow to fill the eye area and eyebrow. We can check by clicking Alt and clicking on the mask. If you see smear then we switch to black brush to edit

Finally here is the illustration of before and after adding sharpness

Leave a Reply to binmaocom Cancel reply
YOU MIGHT ALSO LIKE...
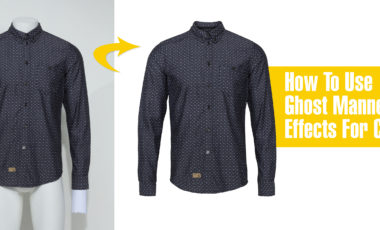
How To Use Ghost Mannequin Photography Effects For Clothing
If you’re in the apparel business, you’ve faced the challenge of demonstrating a product’s fit without breaking the bank or distracting your customer. Customers need…
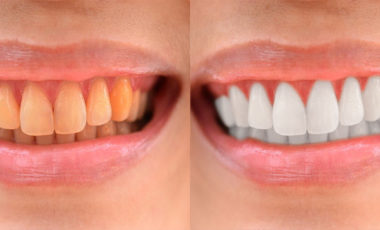
How to Whiten Teeth in Photoshop?
In this tutorial, we will learn basic steps to whiten teeth. Using Pen tool with Color Balance and Levels, you will have a perfect picture.…
Why should you choose the professional photo retouching services?
Retouch, the word you may hear so many times in today photography on your TV, magazines, or people around you. But have you ever try to…

10 amazing online photo editor apps
With the need for basic image editing, the following apps will please you. If you just need to edit some simple things, using professional programs…
Recent Post

How To Use Ghost Mannequin Photography Effects For Clothing
Posted on November 15, 2017

How to Whiten Teeth in Photoshop?
Posted on November 4, 2017

Why should you choose the professional photo retouching services?
Posted on September 13, 2017

10 amazing online photo editor apps
Posted on September 13, 2017

Top ten well-known photographers in the world
Posted on September 12, 2017
I’m really impressed along with your writing talents and also with the
structure to your weblog. Is that this a paid topic or did you modify it yourself?
Either way keep up the nice high quality writing, it’s rare to look
a great weblog like this one these days..
Hi Escorts,
Thanks for your words and we do free for it to help people develop their skill and the new idea will be updated soon. See you again