How to smooth skin of portraits but still keep its texture in photoshop ?
 There are countless ways that guide to retouch skin on the internet. Some of them are very simple that you just need to use plug-in then click and click. There are professional ways such as frequency separation that professional retoucher use frequently. Today I will introduce you another one whose advantage is to keep the details on the skin very well and you can save much time.
Process: 4 Steps
– 1: Cleanse the skin
– 2: copy and invert
– 3: smooth by high pass & blur
- 4: use mask
Step 1:
– As many other ways, the first step is to clean the skin. This is the basic step but very important. If you do not do thoroughly at this step, the results will not be very good.
Firstly, to create a new layer, we use a healing brush with a small brush (equivalent to “acne” on the skin) … then pick the selection and rub in the area with acne, melasma …

After rubbing with a healing brush. We have the results shown below

Step 2:
Then copy the picture with CTRL + J with the Vivid light mode.
– CTRL + I to invert, we have the image below

Step 3:
– Filter> Other> High Pass with the parameters depending on the picture (with this picture I chose 13 pixels)

This parameter has to be appropriate so that the shift on the skin from the shadows to the highlight is really soft and as sharp as the image below.
– Next, also on this layer (inverted layer).
Filter> Gaussian Blur (this one I chose 3.8pixel so that the detail of the skin surface can stand out.
Step 4: Now we can see that the skin is fairly smooth and still have details

– this step is just to create a mask to cover the parts we do not need to smooth like hair, eyes, lips, etc. a few other parts.
– Masking (sure everyone knows it) … there are 2 types of masks: pros & reverse
– Note, use the bigger brush to create the large array, the small opacity of 40-50% (just applied twice = 100%) … then, you can adjust the opacity on the layer.

YOU MIGHT ALSO LIKE...
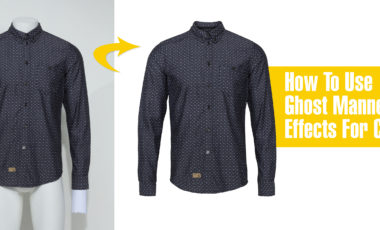
How To Use Ghost Mannequin Photography Effects For Clothing
If you’re in the apparel business, you’ve faced the challenge of demonstrating a product’s fit without breaking the bank or distracting your customer. Customers need…
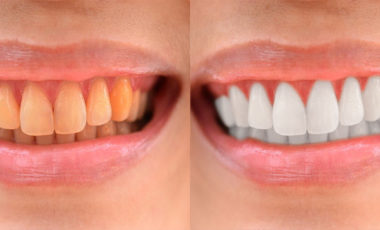
How to Whiten Teeth in Photoshop?
In this tutorial, we will learn basic steps to whiten teeth. Using Pen tool with Color Balance and Levels, you will have a perfect picture.…
Why should you choose the professional photo retouching services?
Retouch, the word you may hear so many times in today photography on your TV, magazines, or people around you. But have you ever try to…

10 amazing online photo editor apps
With the need for basic image editing, the following apps will please you. If you just need to edit some simple things, using professional programs…
Recent Post

How To Use Ghost Mannequin Photography Effects For Clothing
Posted on November 15, 2017

How to Whiten Teeth in Photoshop?
Posted on November 4, 2017

Why should you choose the professional photo retouching services?
Posted on September 13, 2017

10 amazing online photo editor apps
Posted on September 13, 2017

Top ten well-known photographers in the world
Posted on September 12, 2017
Leave a Reply