How To Use Ghost Mannequin Photography Effects For Clothing
admin
November 15,2017
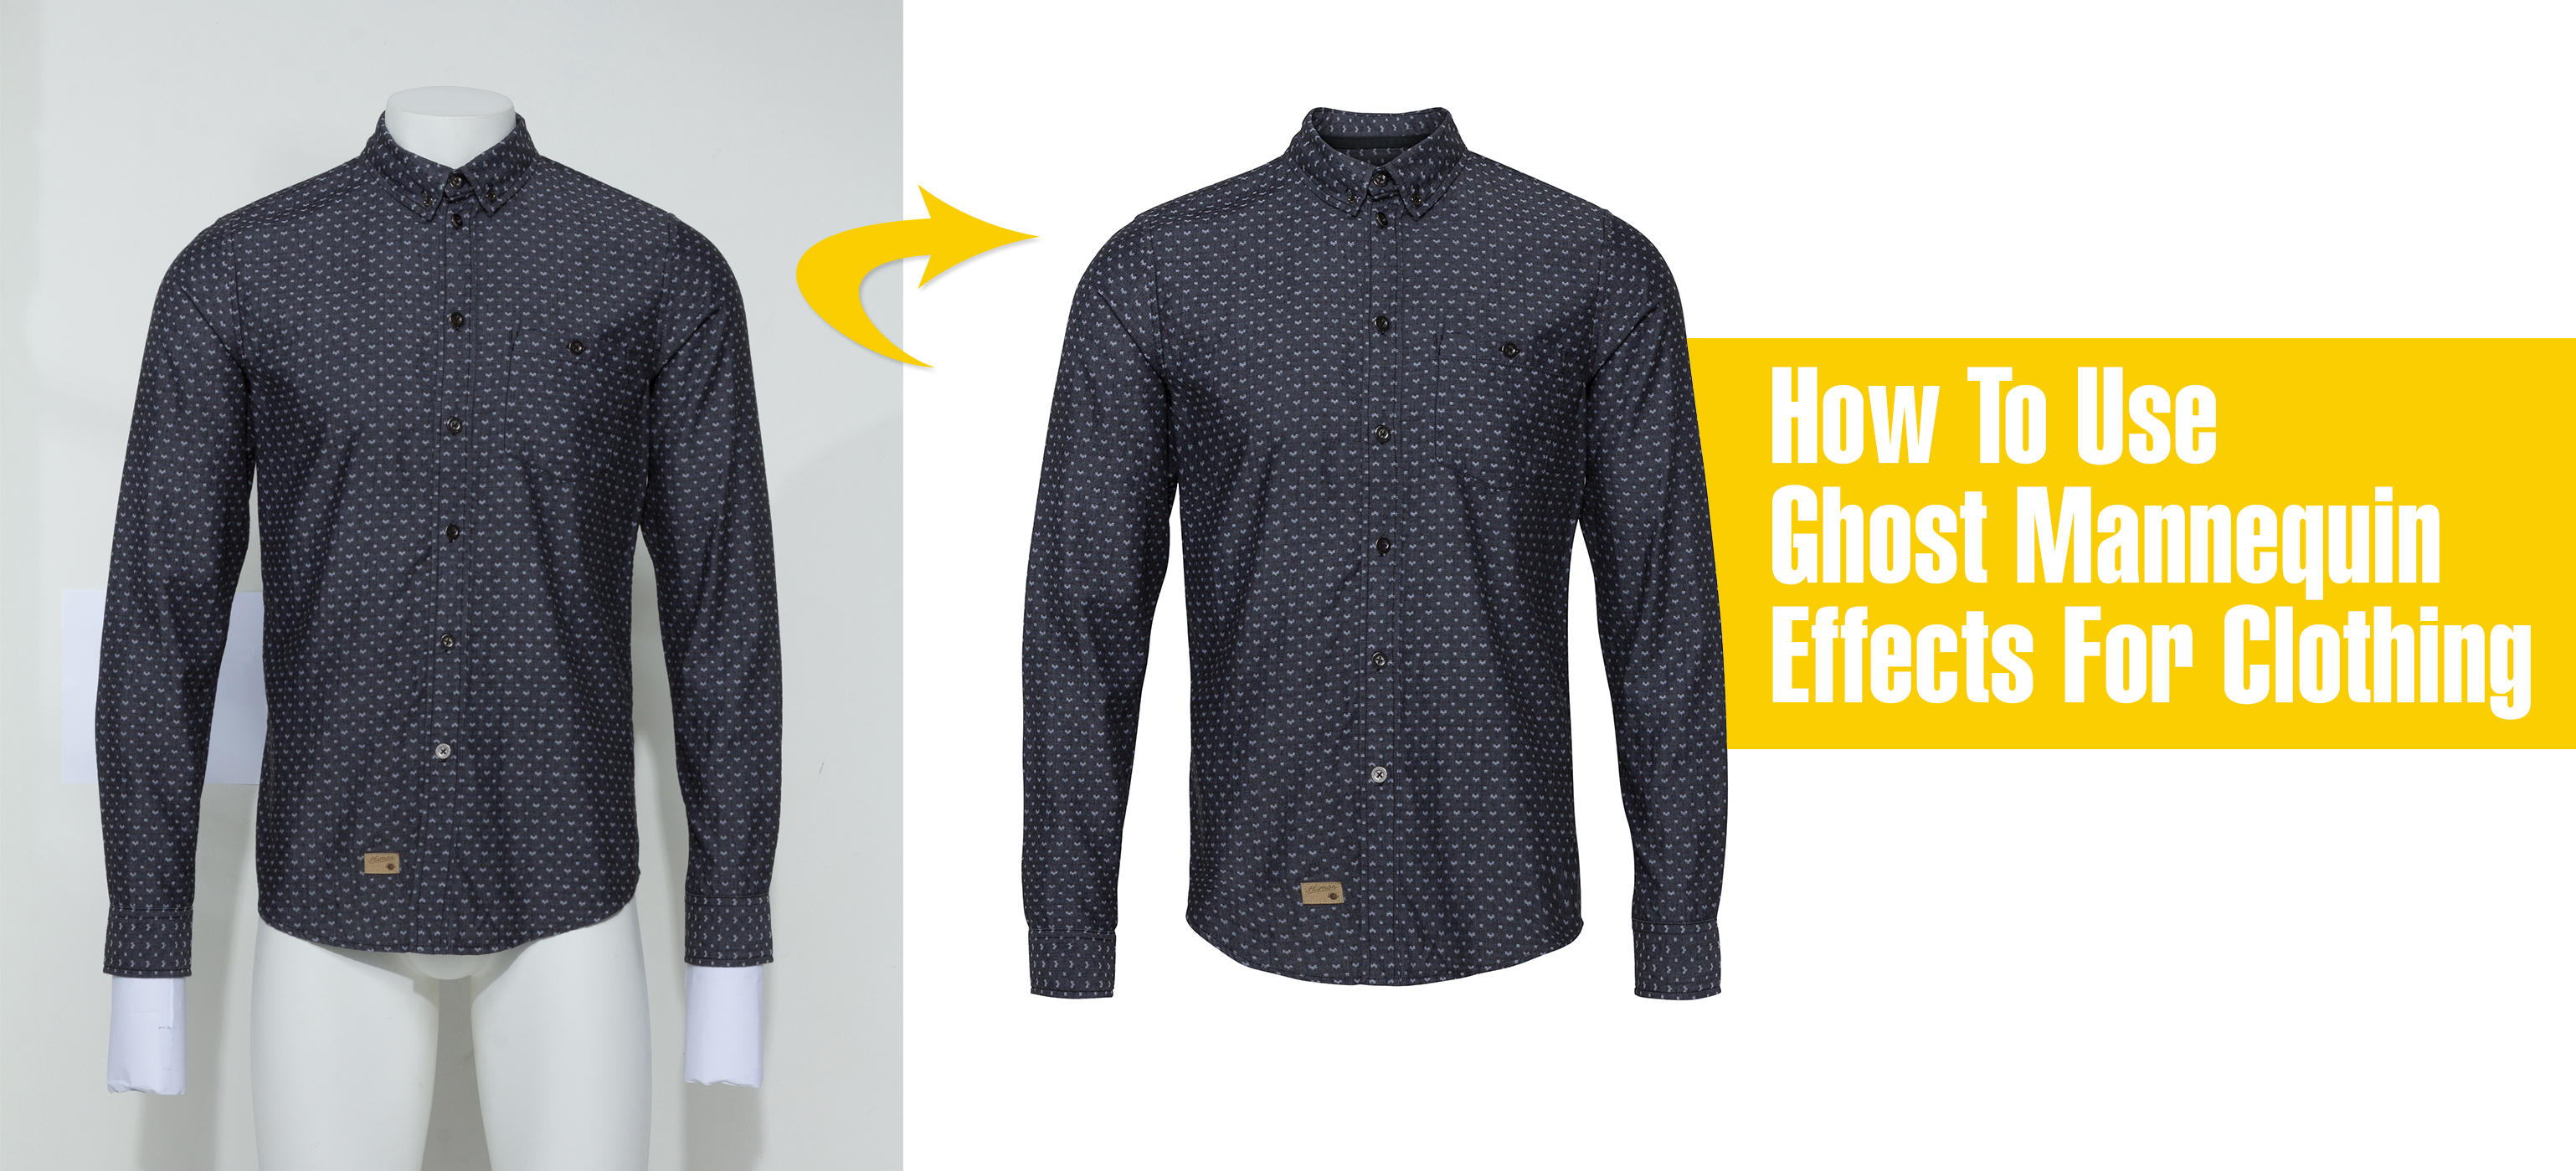
If you’re in the apparel business, you’ve faced the challenge of demonstrating a product’s fit without breaking the bank or distracting your customer. Customers need to see the shape of a product; flat or folded displays don’t provide the necessary level of detail. Your product photography must show the products being worn, but models are expensive and mannequins can be alienating.
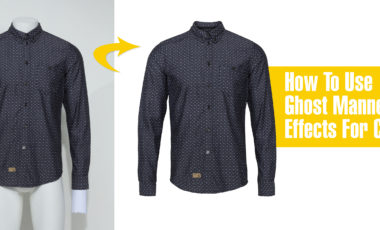
The “invisible mannequin” effect, also known as the “ghost mannequin,” is a simple and powerful post-production
technique for apparel product photography that solves the showcase problem.
All it takes is a plan and Photoshop instructions. Want to see all 6 steps in action? Watch the tutorial below for a step-by-step guide to the process.
Open your file in Photoshop
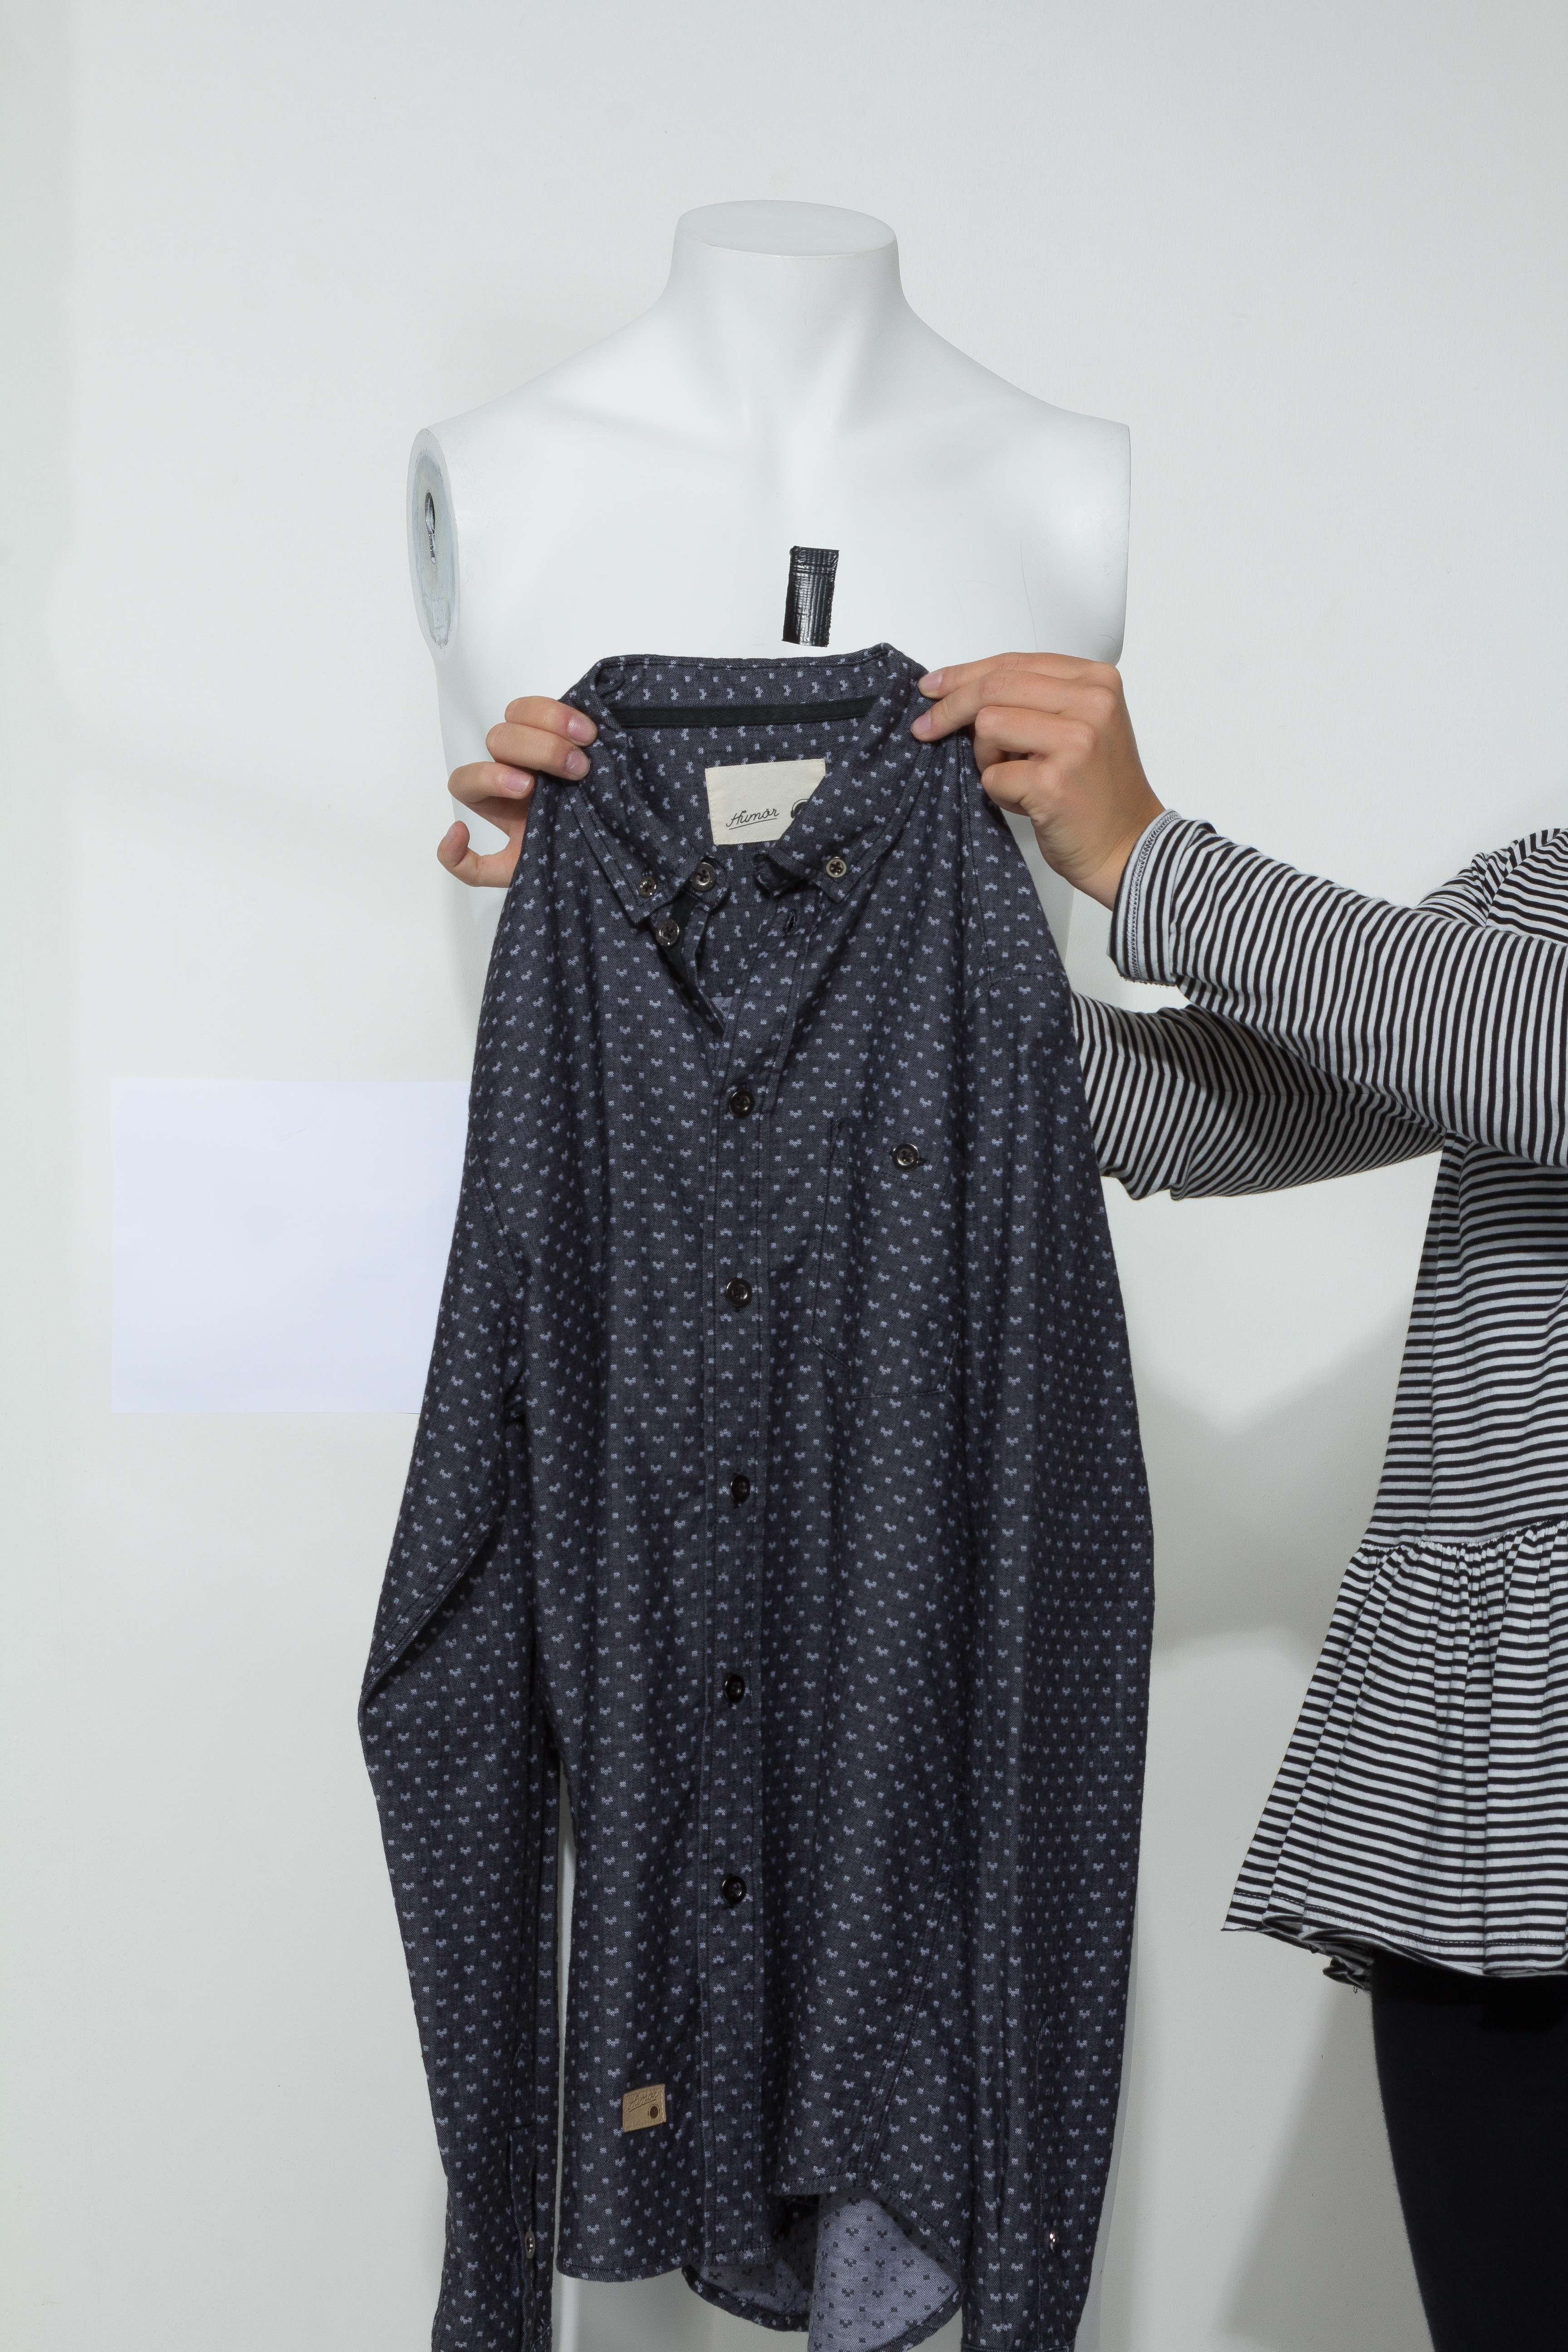
Select your mannequin image and create a new background layer. Fill that layer in with white; it will serve as your overall background when you’re finished. It’s also helpful to label your layers so that you can tell them apart and remain.
Use a selection tool to select the product in the mannequin image
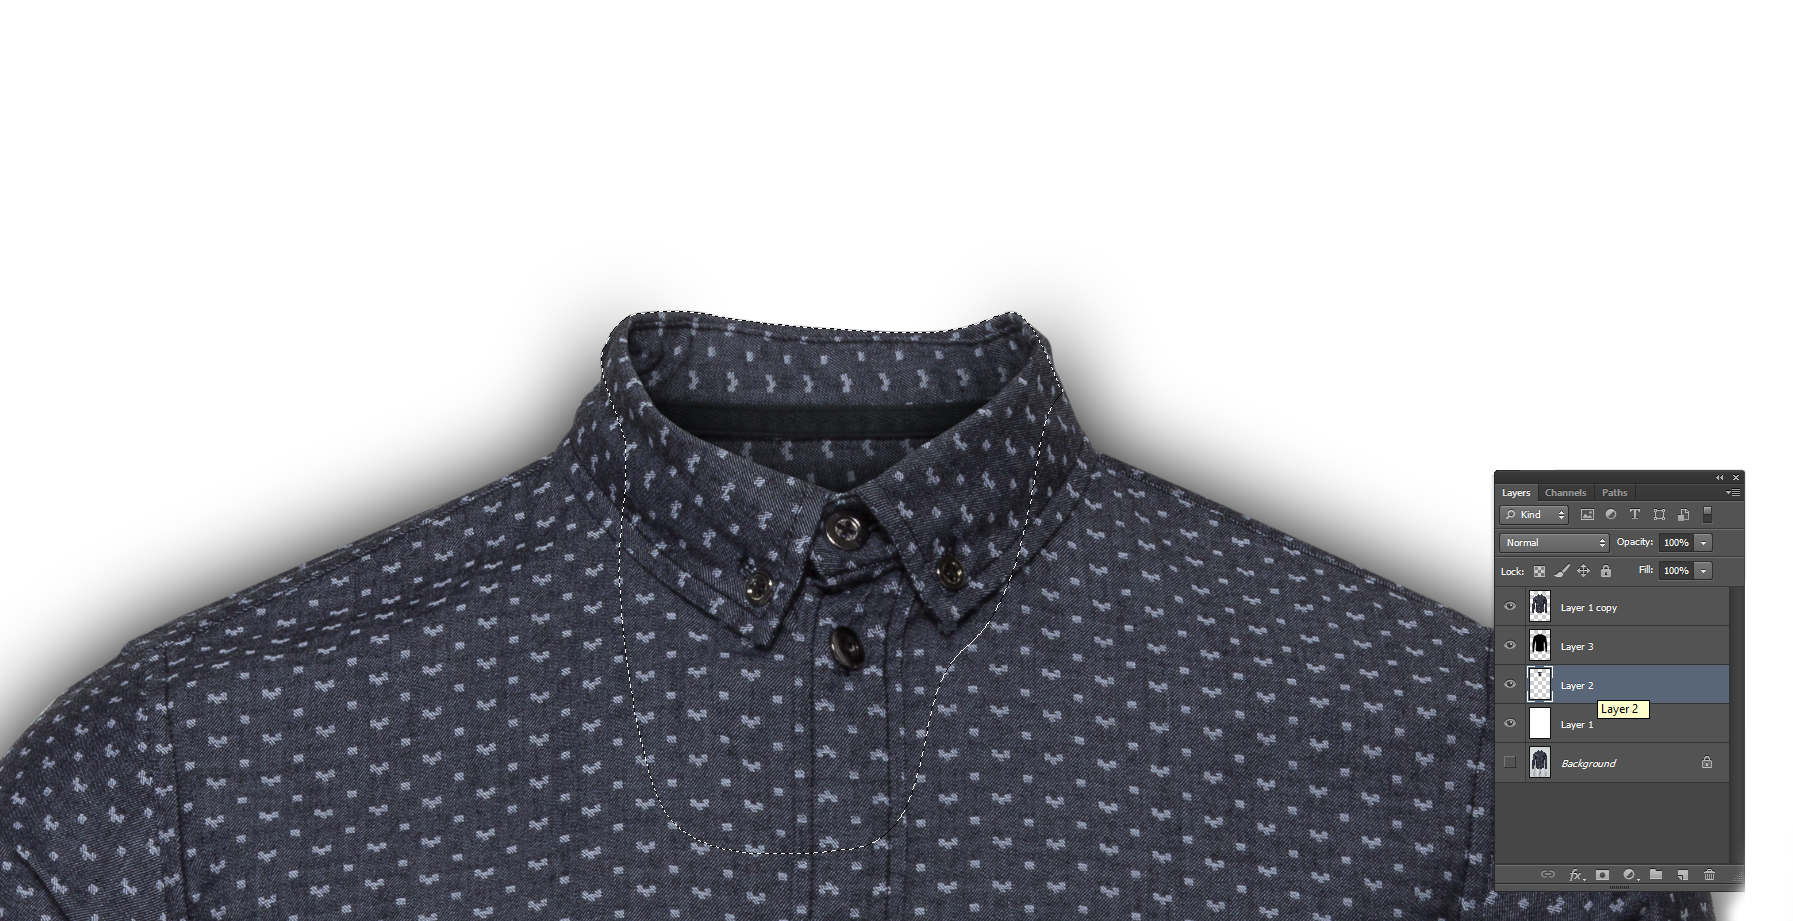
Press Ctrl+T :
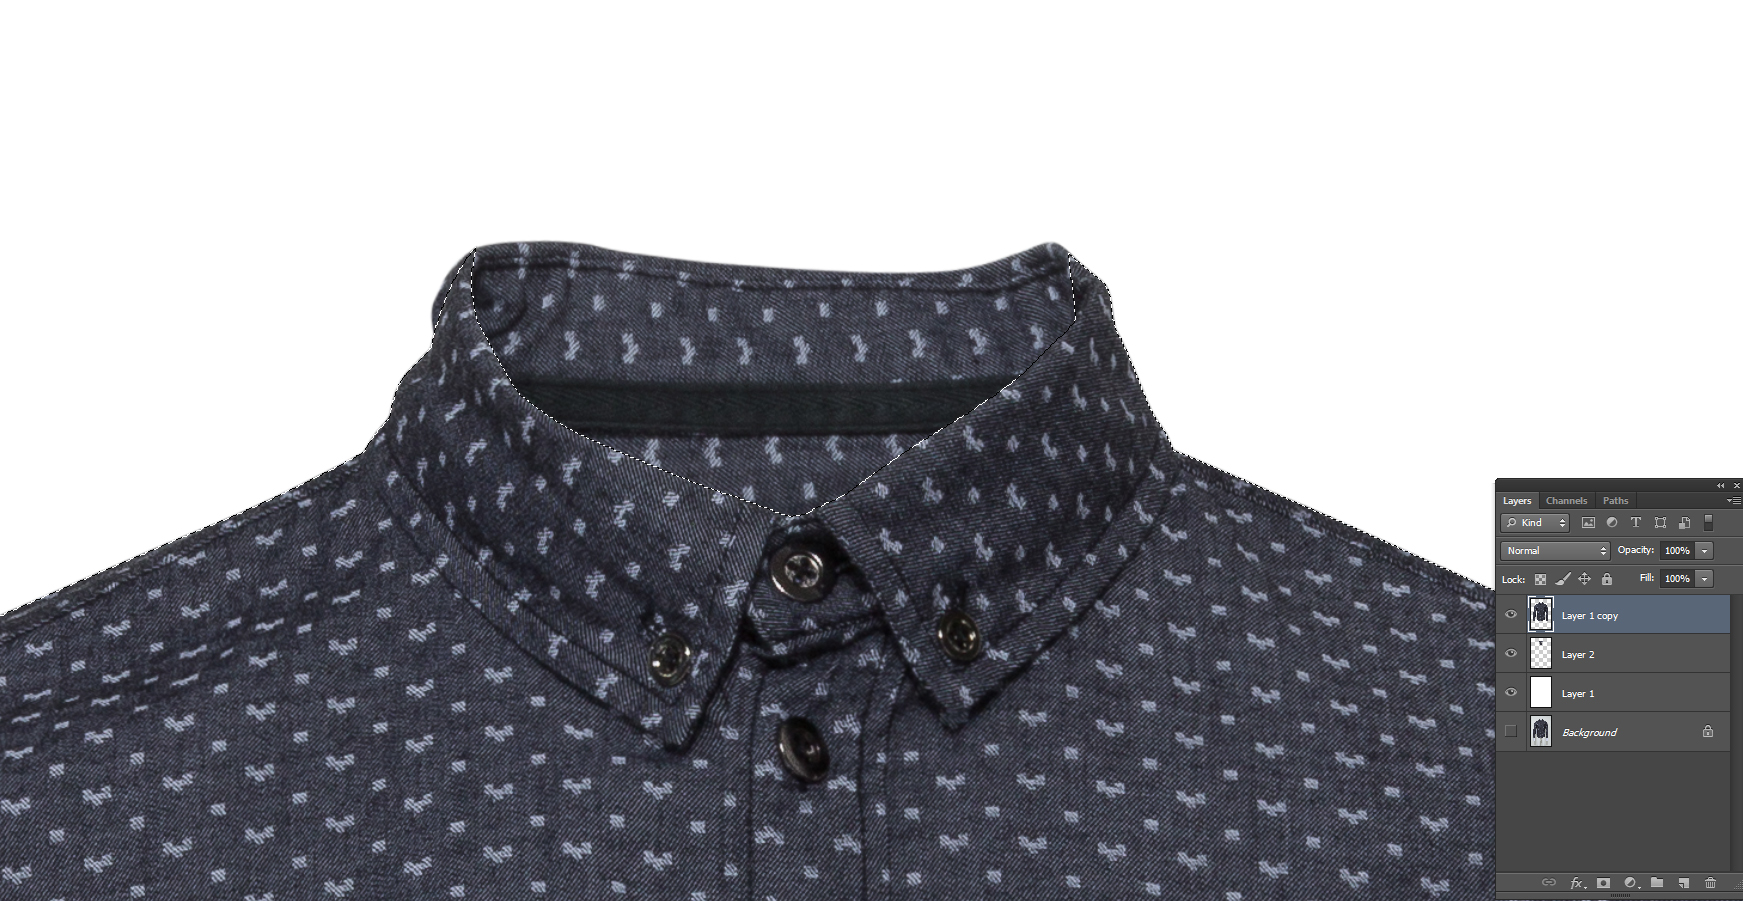

Next, Press Ctrl+F6
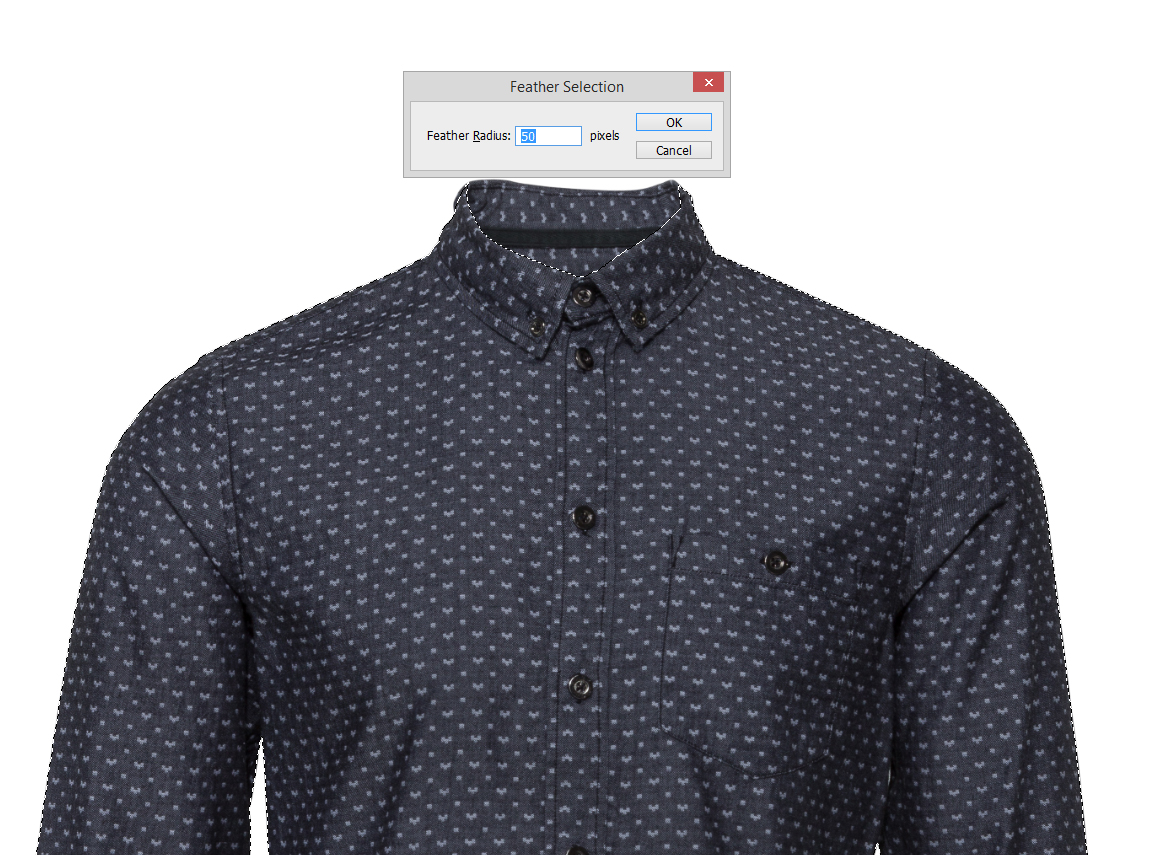
Create a new layer:
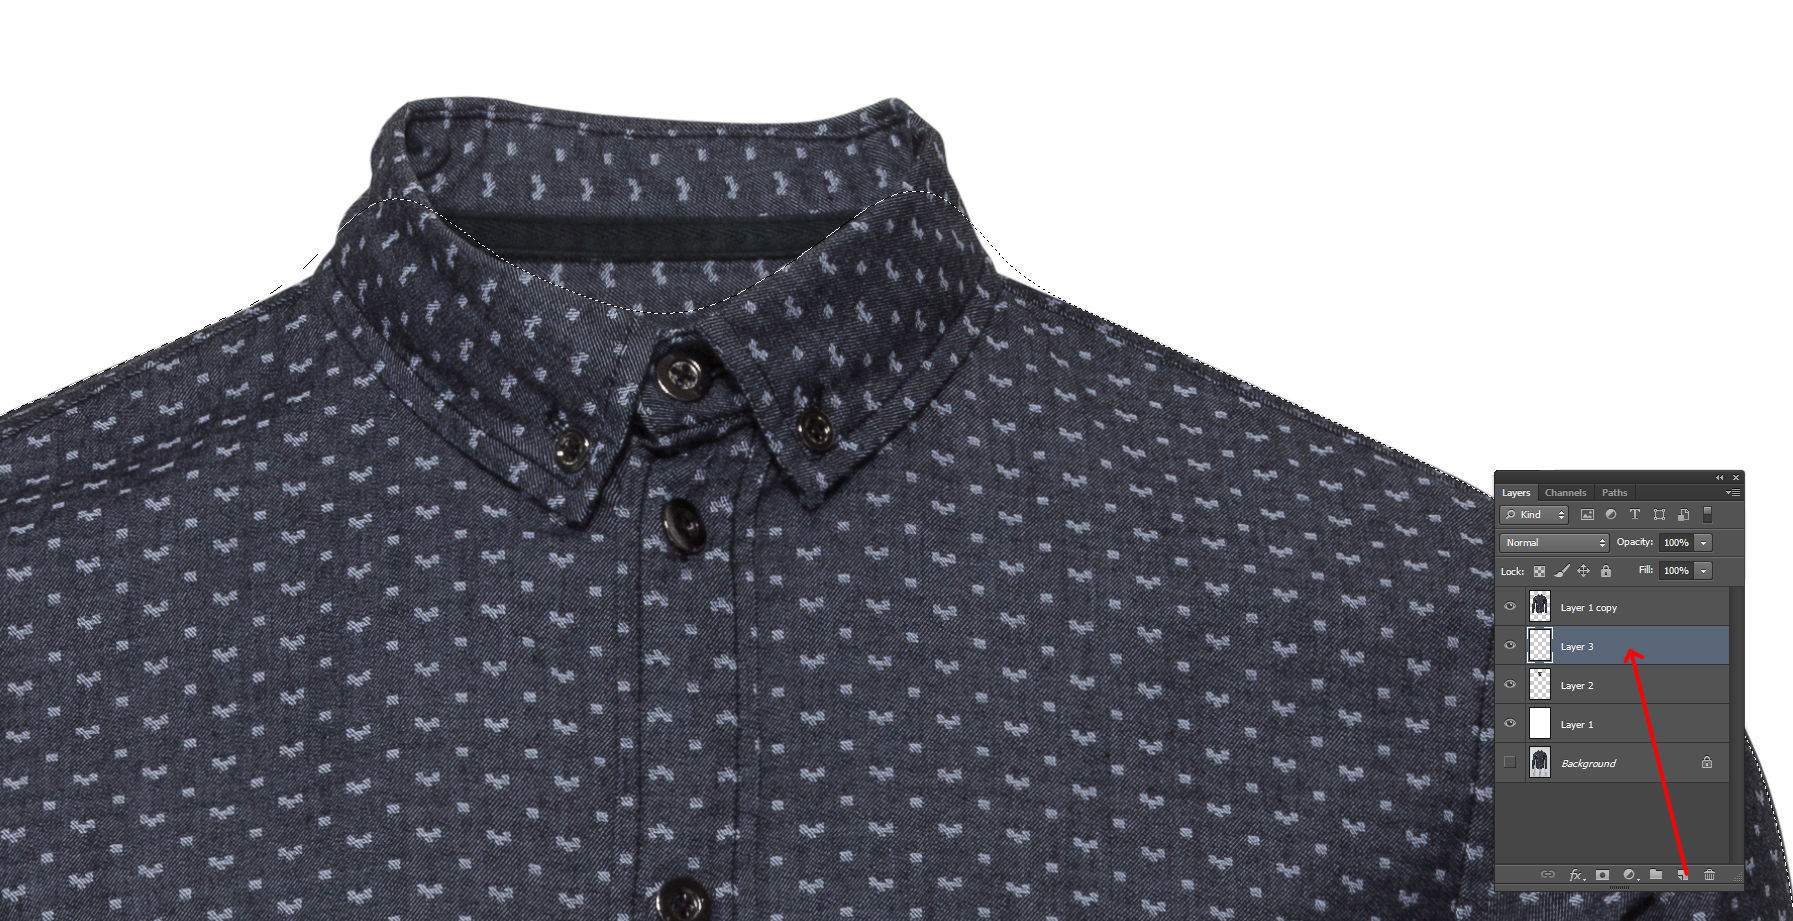
Fill back area with thread 50.
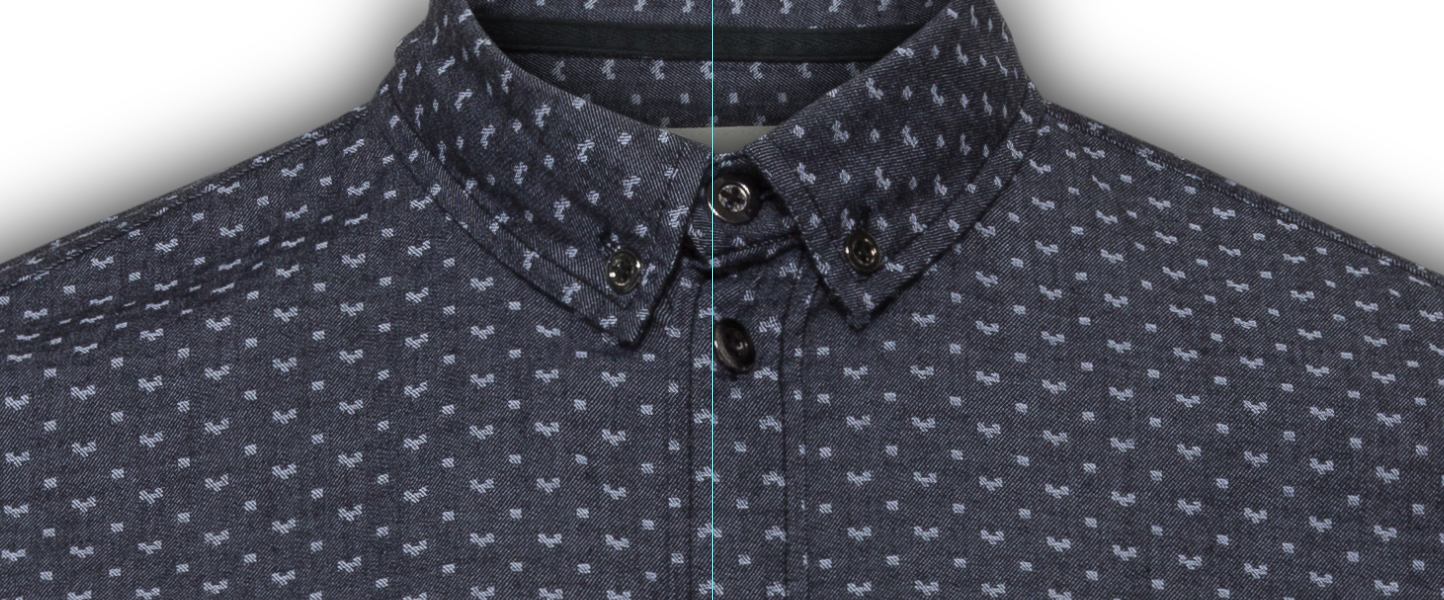
Press Ctrl + T to make a straight product.
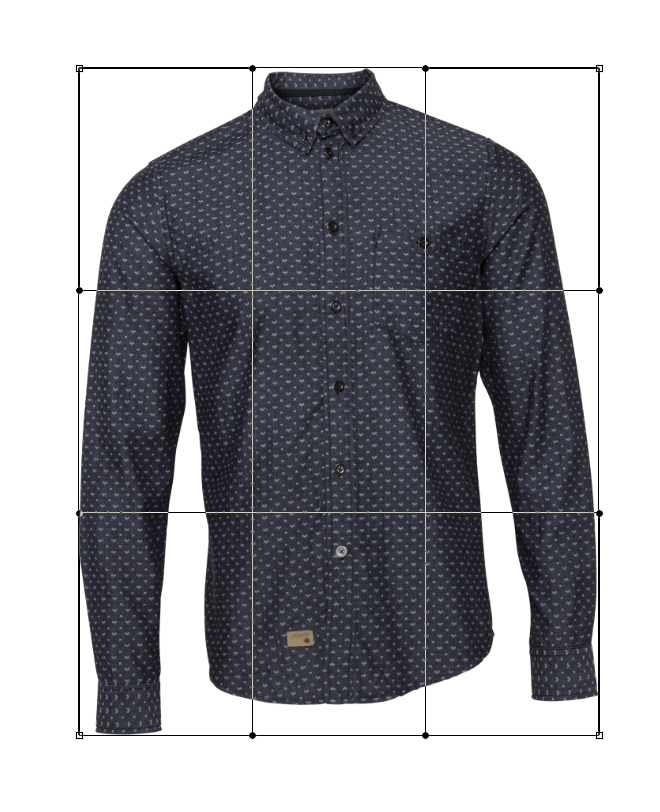
Step 6: Press Filter -> Liquify :
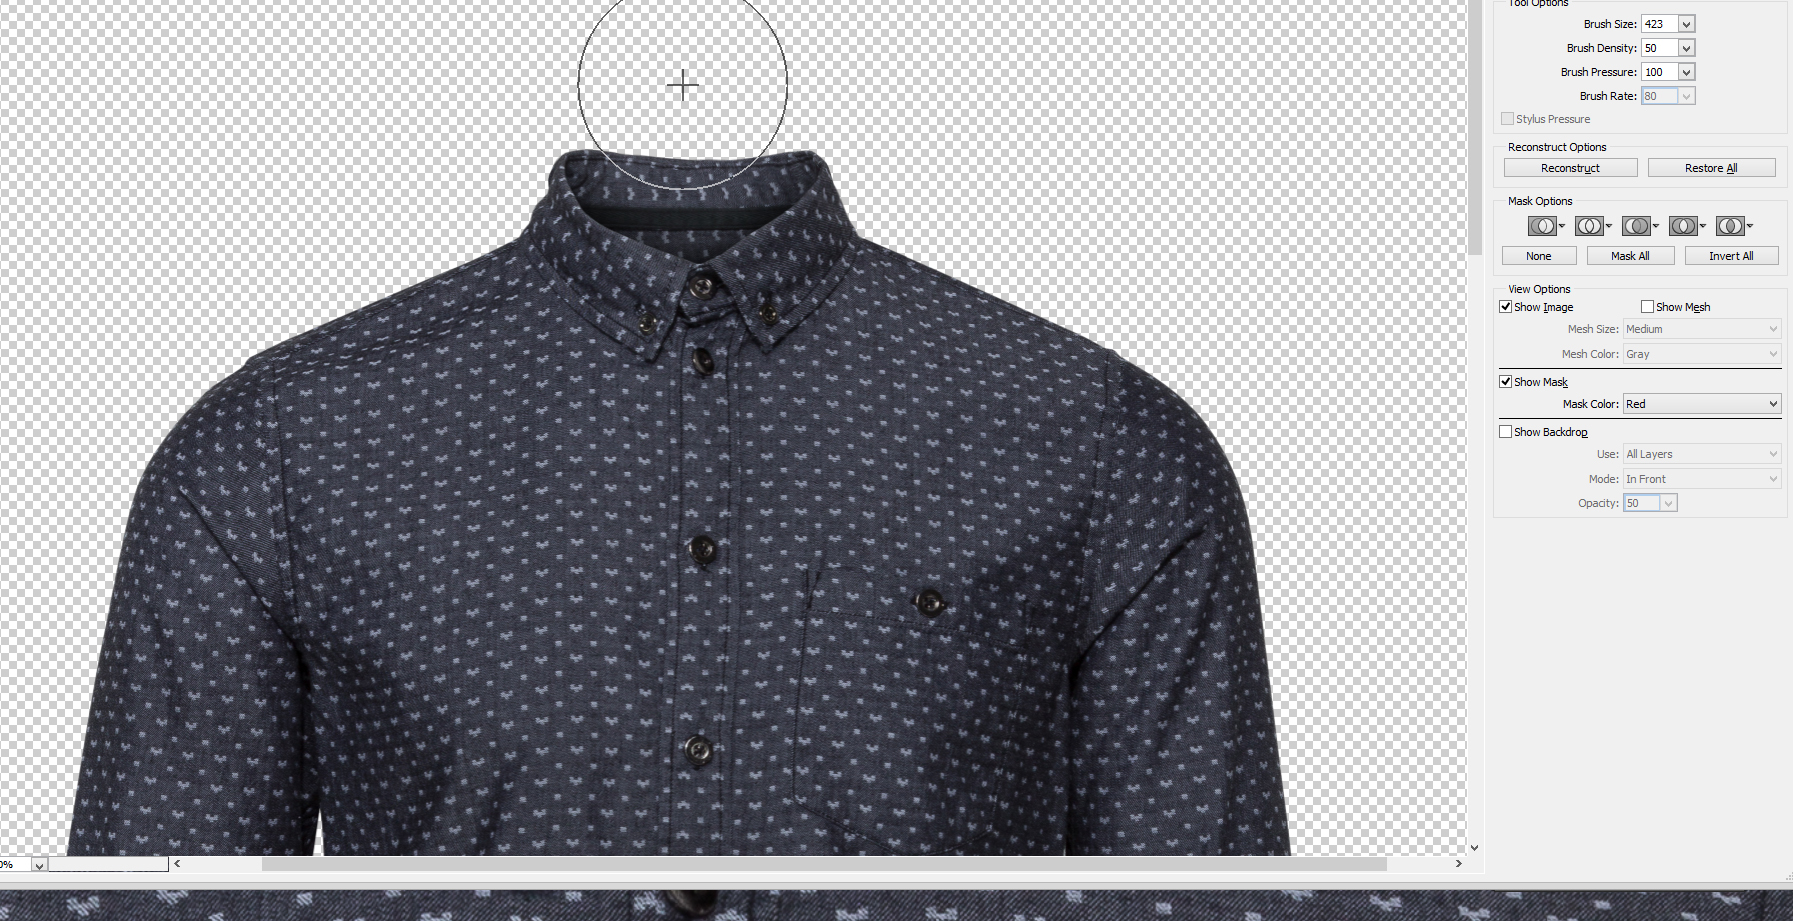
We have resulted.
 “Gosht mannequin” effect is relatively simple, given that you own the proper post-production software. You can edit yourself if budget constraints require.
Another side, if you do not have time and looking for outsourcing. We may save your company a great deal of time and frustration. You can order here if you are finding a quality and fast turnaround delivery time.
After your order has been placed and your images are uploaded, your work is done. Our expert image editors will complete your order in 24 hours or less.


 “Gosht mannequin” effect is relatively simple, given that you own the proper post-production software. You can edit yourself if budget constraints require.


Leave a Reply